
How to Make a Simple Icon in Photoshop
 I’m going to show you how to cut yourself a simple icon base in Photoshop.
I’ve noticed a lot of people tend to just take an image, whatever size, and simply resize it to 100 x 100. Now if you’ve ever done that, you’ve probably noticed that it comes out horrible looking and pixilated. So I’m going to show you how I do my icons.
Step One:
Open your image in Photoshop. I’m going to use this image of Morgana from the television show Merlin.
Step Two:
On the toolbar, choose the square selection tool  and change your settings so they reselmble these:

Step Three:
Use the selection tool to select the part of the image you'd like to use as your icon. Hold Ctrl + c - this will copy the select part of the image.
Step Four:
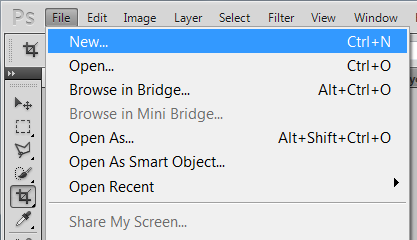
Go to File >> New.
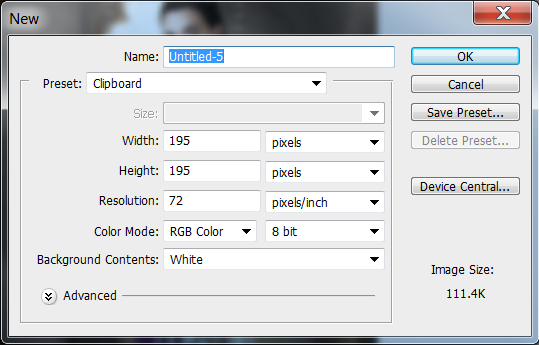
Step Five:
Since you've copied the selected image, the suggested size of your new document should be set to the size of your selection - so just click OK.
Step Six:
Go to Image >>Image Size.

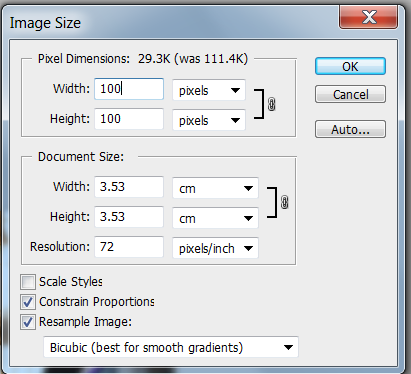
Step Seven:
Set your width to 100 pixels and your height to 100 pixels and then click OK.
Step Seven:
That's it! Now that you're done, be sure to save your image before exiting the program.
If you had any problems understanding anything just let me know!
My new icon:

Latest tutorials
-

How to Make a Simple Banner in GIMP
January 25th, 2014 at 05:29am
-

How to Successfully Code a Signature for Mibba
August 10th, 2013 at 08:32am
-

How to Make a Blue Hued Icon Using Photoshop
February 1st, 2013 at 06:38am
-

How to Change Light Hair Color on GIMP
July 23rd, 2012 at 01:37am
-

How to Make a Mibba Story Layout
July 20th, 2012 at 08:19am